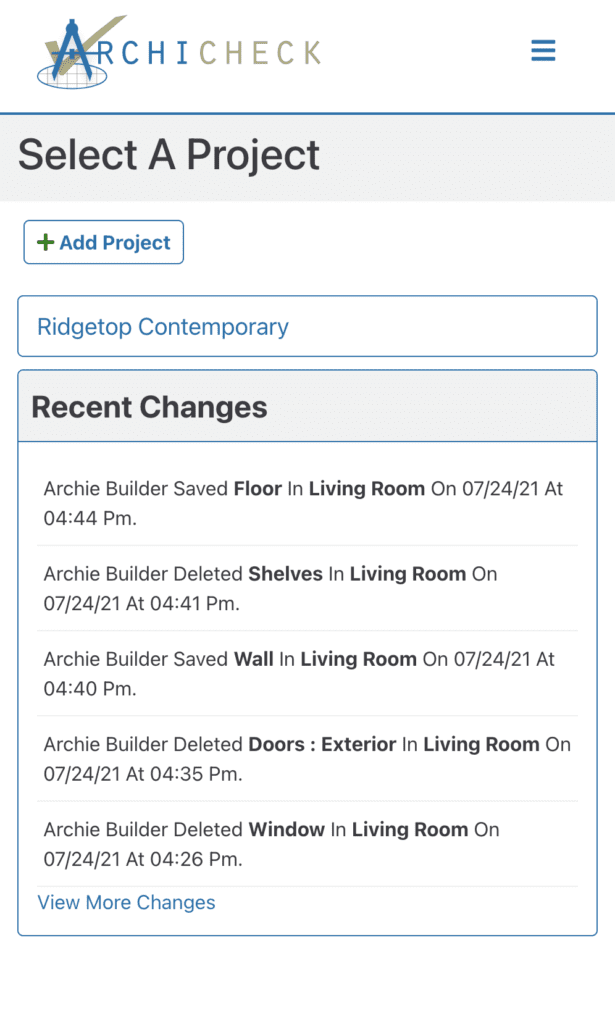
Begin simplifying your project by entering details such as the project title and address. Here, also, is where you’ll be able to invite other users to view and/or edit the project with you.
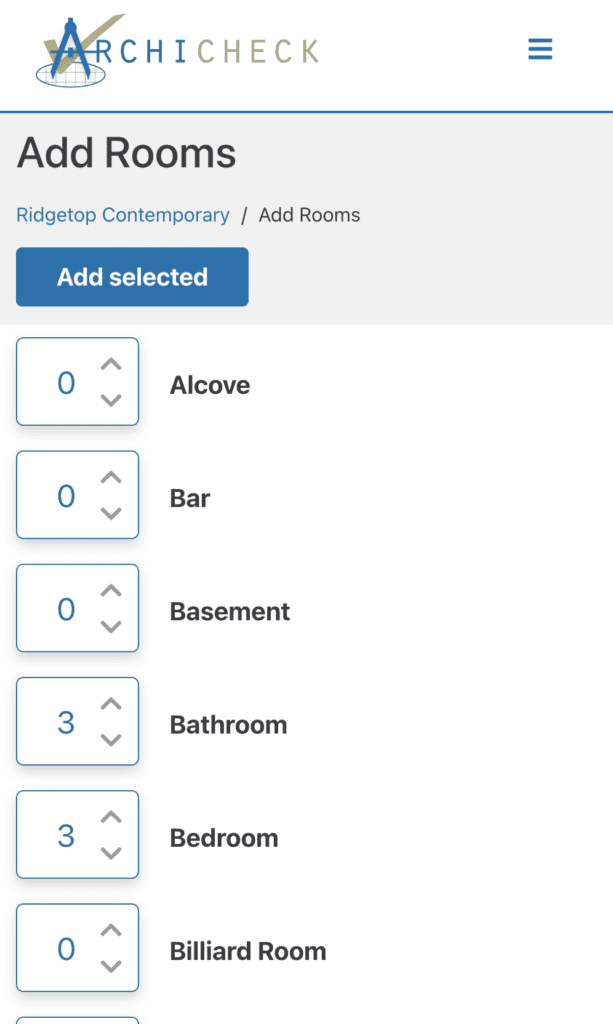
Add all of the rooms you will be working on during the project using Archicheck’s pre-built room list. Select the number of each type of room ( ie: 4 bedrooms, 3 bathrooms, etc). Be sure to include areas such as halls, closets, showers, stairs, and fireplace’s as separate rooms. These areas all have very important and unique features that will need to be addressed.
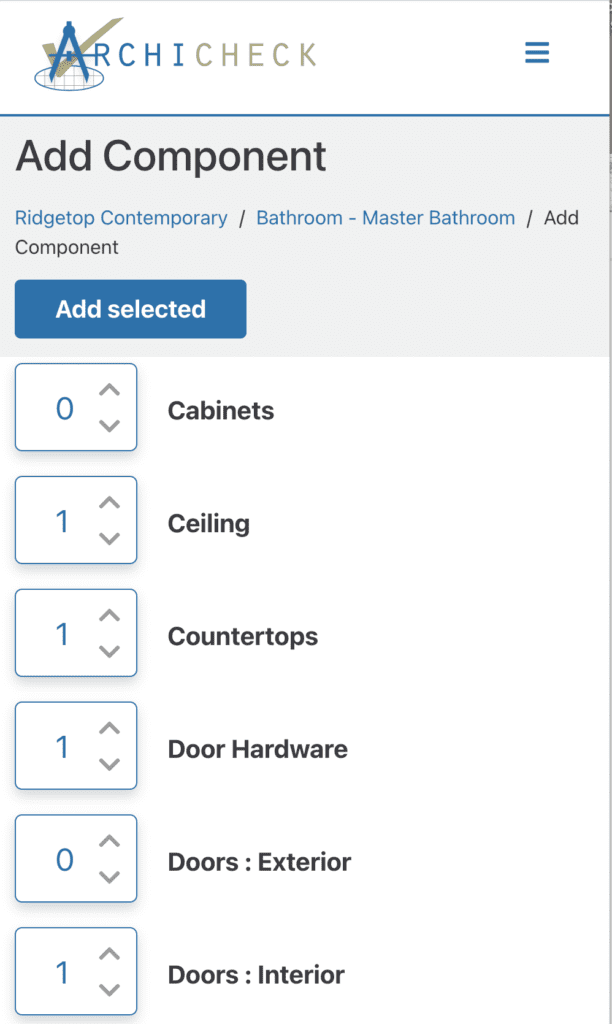
Now we get to the fun (read: important) stuff. Using our pre-built list of components, add components to each room until you’ve covered it all. From trim options, to flooring, to accessory fixtures— There is a place for every detail, and accurate, complete information is needed to describe each one.
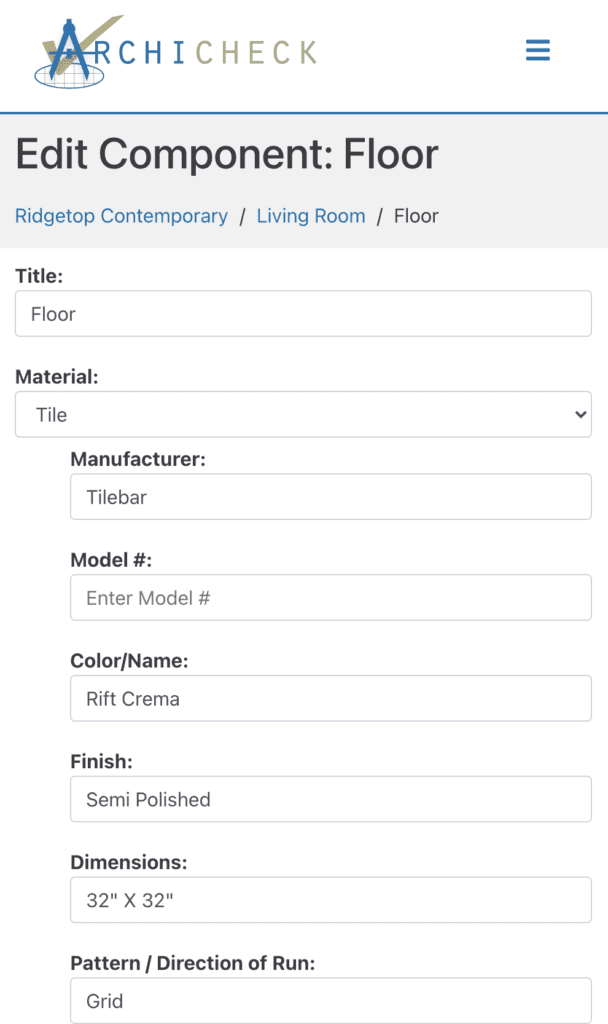
Now we get to the really fun (read: really important) stuff. Once all your components have been added to a room, you’ll now go through and add in the applicable details of each component including: materials, sizing, application techniques, product numbers, manufacturer information, and more.

Add components and component details until plans for each room in the project have been entered to completion. If component is duplicated exactly in other areas, the rooms can be linked and that component will already be completed when you click on those areas. ( Floors, paint colors, trim details etc. are often the same in many areas. Linking rooms is a great time saver!)
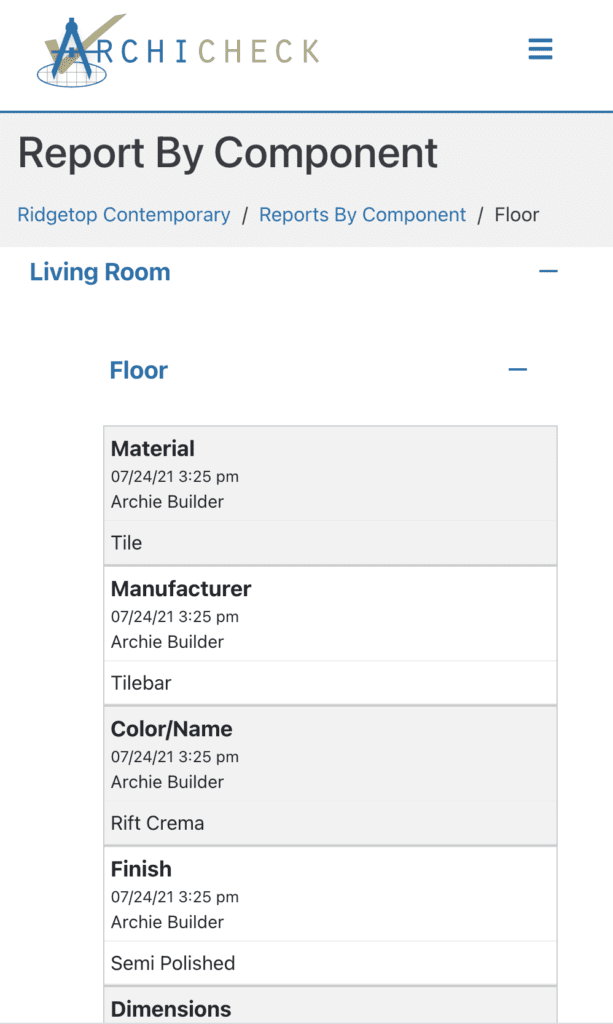
Generating reports turns your entries into easy-to-view lists available by room or by component. You’ll have the options to download, print and share.